Happy Birthday Rocking It Grand
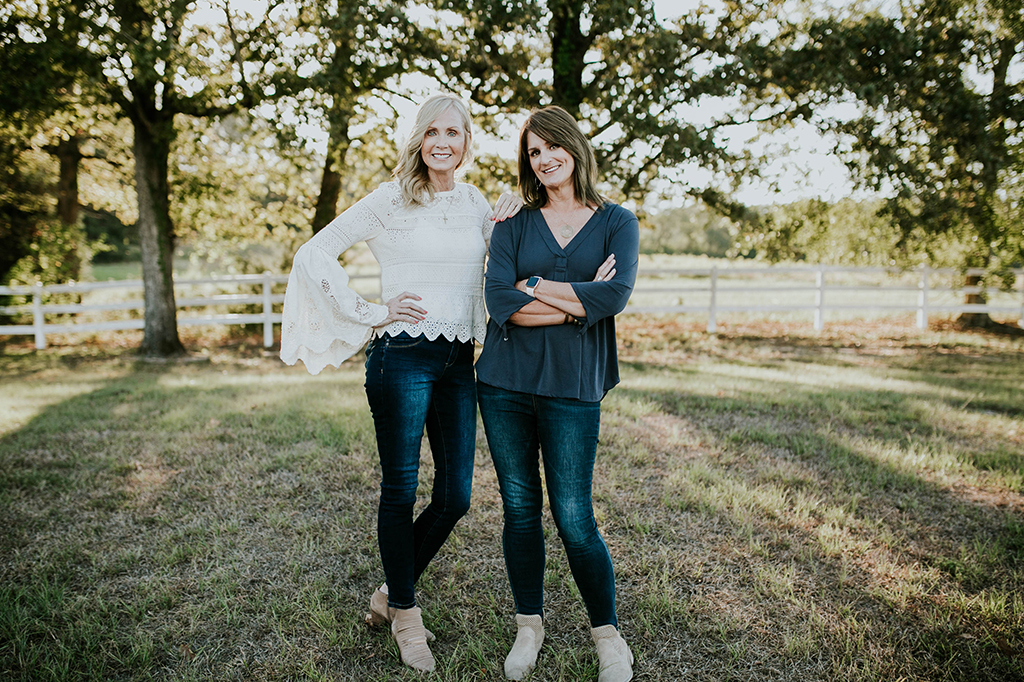
Whoo, hoo! RIG is turning one! It’s hard for us to believe it’s been a full year since we launched Rocking it Grand, but here we are, with even more plans for RIG’s future. Chrys and I hope y’all are enjoying this community. We sure are! We’ve even got some new projects in the works. We’re excited about them and hoping to share them with you, soon.
For now, our birthday here at RIG has us thinking about last year’s launch. Oh, it was fun! Maybe you were there? Maybe you saw the pics and live video? Maybe you’re new around here and you saw none of it, or you slept and forgot it all. Who knows, right? LOL. Allow me to share some of that backstory.
Chrys and I gathered up a group of rocking grandmothers from among our mutual circles of family and friends, and when the big moment came, we went Facebook Live to announce this new community! Did it go off without a tech hitch? You’re joking, right? We persevered, however and a rocky start became a wonderful evening.
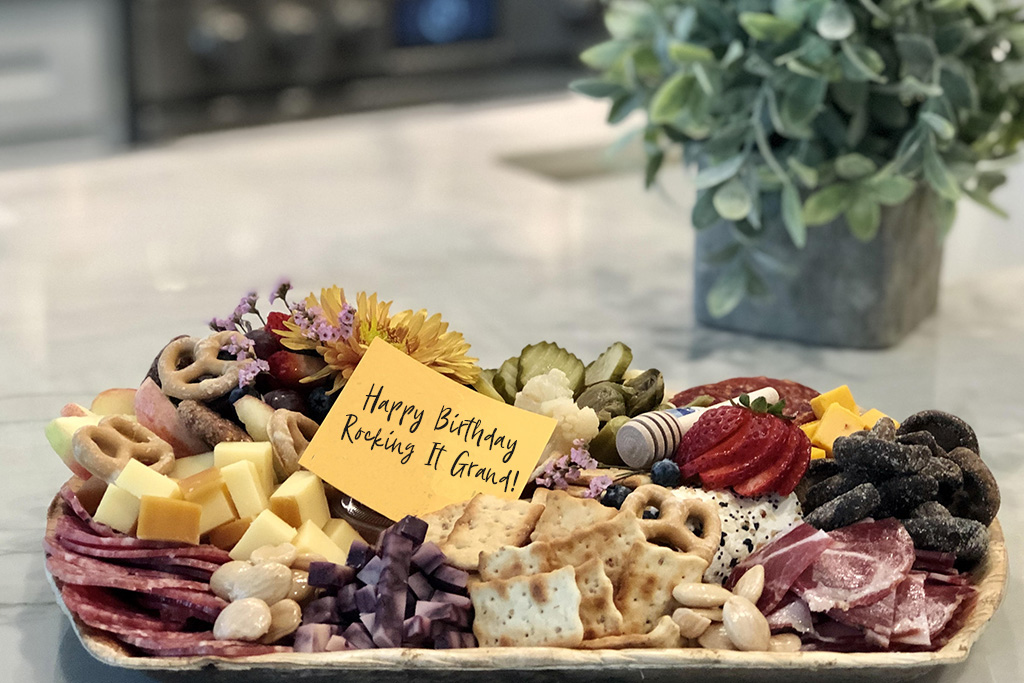
Oh, the stories that were told. We all introduced ourselves by our grandmother names, and then we did what no one ever tires of in this circle. We told grand story after grand story. In and around all the stories we snacked on a charcuterie board Chrys and I had pulled together— along with the help of some early arriving guests. I mean, you know arriving grandmothers are going to lend themselves to whatever’s happening in the kitchen, right?
Should you be new to the idea of charcuterie boards, lean in and I’ll unpack the basics. Charcuterie boards are fun for parties, (and the holidays are upon us!) but they’re also perfect for an impromptu girlfriend gathering, or pulled together as an informal dinner with just you and your spouse.
Charcuterie is a French term for the art of preparing cured or smoked meats. A charcuterie board begins there, with the meats, but after that, it’s wide open, Rockstars. Here is a list of ingredients to consider for your board:
~Cured or smoked meats
~Sampler of cheeses
~Dried fruits
~Various types of olives and pickles
~Fresh cut veggies
~Breads, crackers, bruschetta
~Olive oil or other flavored oils
~Sauces and Jams
Once you’ve gathered your ingredients, putting the board together is up to you and your imagination. If you’re going to be traveling with your offering, you’ll want to put it on a pretty board. If not, feel free to get even more creative. Chrys and I laid out one long sheet of butcher block paper and started building!
Design tips:
~Stack your offerings around the board in graduating heights to build visual interest.
~When prepping, make sure to keep everything bite-size.
~Think color and spread the ingredients around accordingly to build a beautiful edible display.
~Intersperse small dipping bowls with your preferred jams or sauces.
~This last tip can be attributed to our new Covid awareness, (aren’t we so over it?!) but if we were doing this again today, I would lay out tongs for our guests.
Well, that should be a good start. Enjoy the process and have fun with your people. Oh, and send us pictures when you make your own boards. We love hearing from y’all.


