Decoupage Pumpkins for the Win!
Hey RIG family! Shellie here. I’ve got a super quick tutorial for you to transform those pumpkins and have fun with your grands without involving sharp knives. And since I’m one of those people who has no appetite for the ugliness of Halloween, this version redeems those pumpkins with pretty shades and patterns that can march right on into Thanksgiving, allowing the grands to enjoy their work longer!
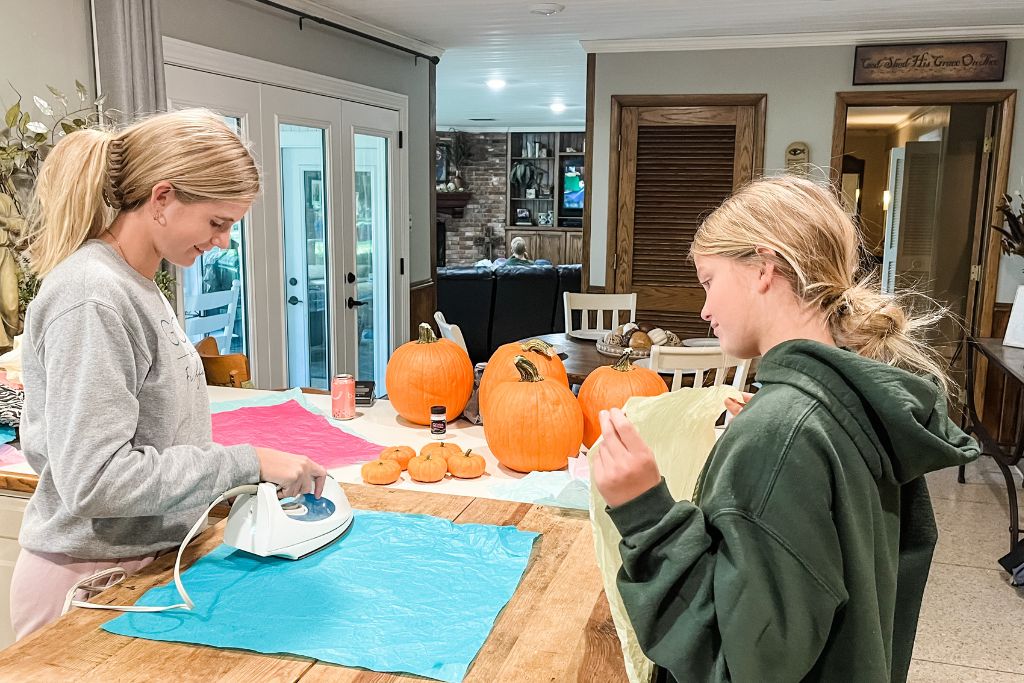
I had four of my six rands last week and they were feeling crafty, so it was time for Keggie to get creative. After spying some mod podge in the crafting closet, I hit on a game plan. Our first move was to pull out old gift bag tissues in a ton of different colors from my gift wrap stash and hunt down the iron. (Is it just me? Do you still iron? Have you heard of dewrinkling spray, or that wonderful throw your shirt in a hot dryer trick? I do not iron. Full stop.)
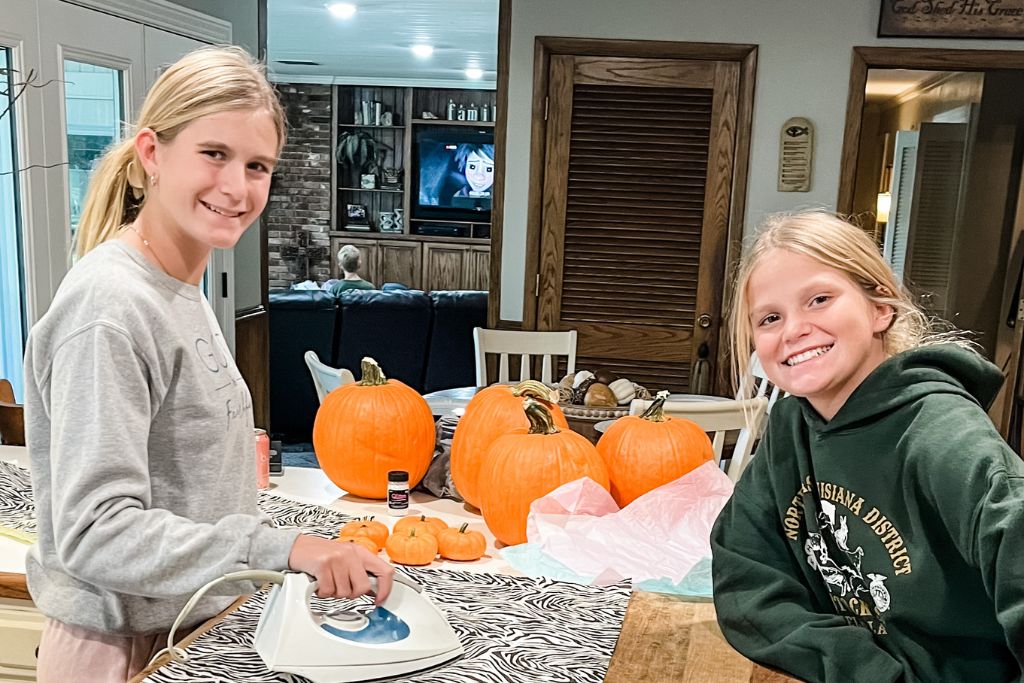
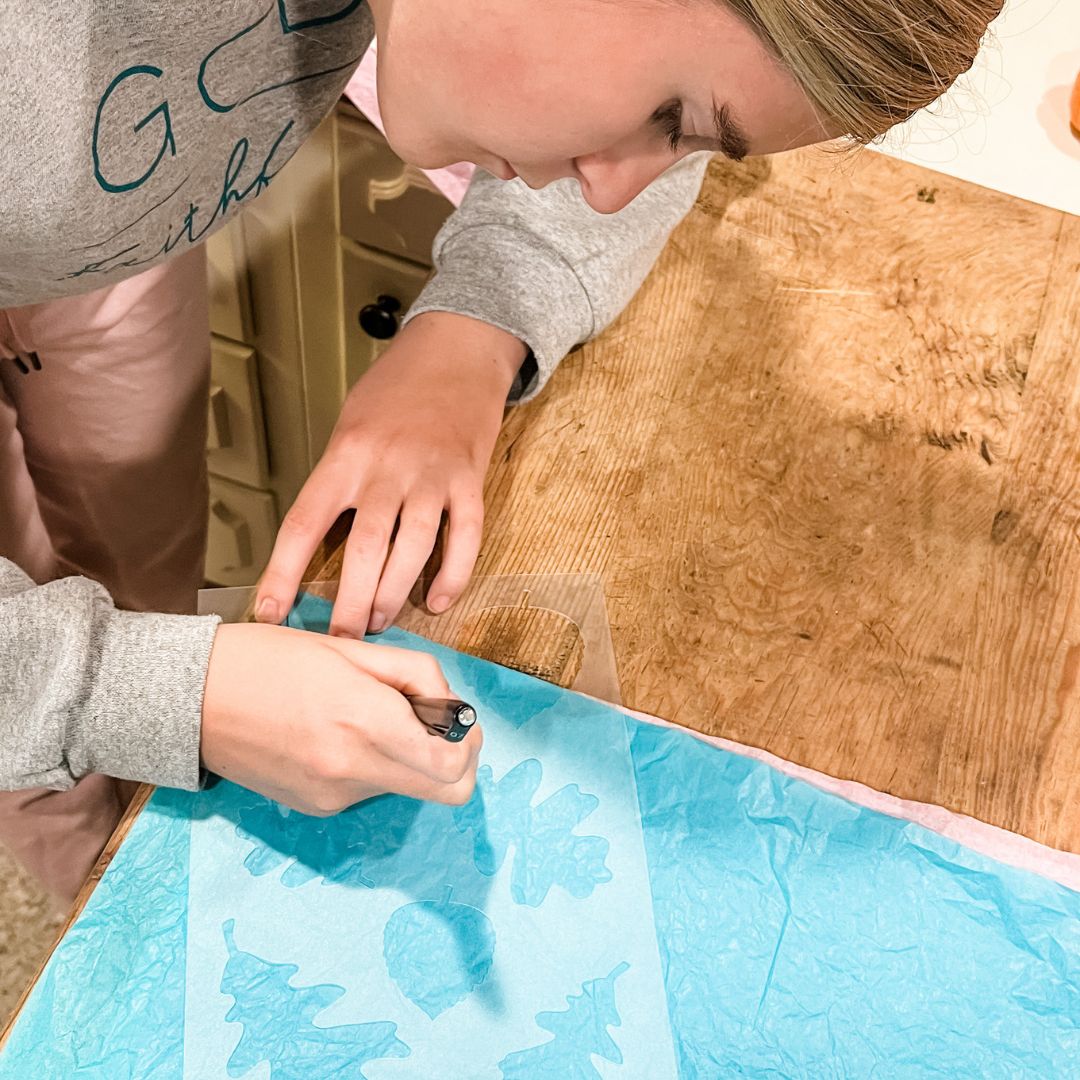
You’ll want to spread your used paper on a surface that can handle the heat, (the ironing board is ideal, but we used my wood island as a work center and it functioned perfectly!) Just a slight pass over the paper with a hot iron removes the wrinkles, and the paper is ready to be repurposed. From there, let everyone cut out whatever patterns they like. You can use stencils or freehand! There’s no right or wrong outcome here. And some of your people may want to add paint to their designs, so have those watercolors handy!
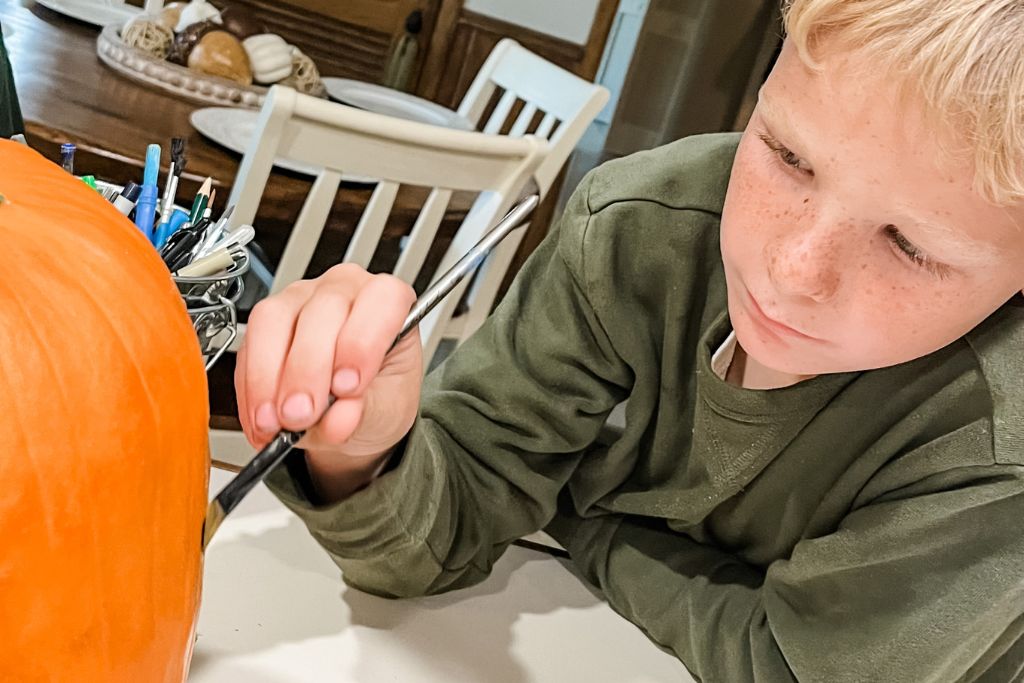
A small dab of any old craft glue will hold your designs in place on the pumpkin while you position them into your preferred design. Finish by taking a paintbrush and painting mod podge over your cutouts. It will go on white and dry clear!


And there you go! Decoupage pumpkins for the win! Have you crafted with your grands lately? We’d love to hear about it! And if you have pics, all the better. Put them in your stories and tag us so we can all enjoy them!
Hugs,
Shellie
